

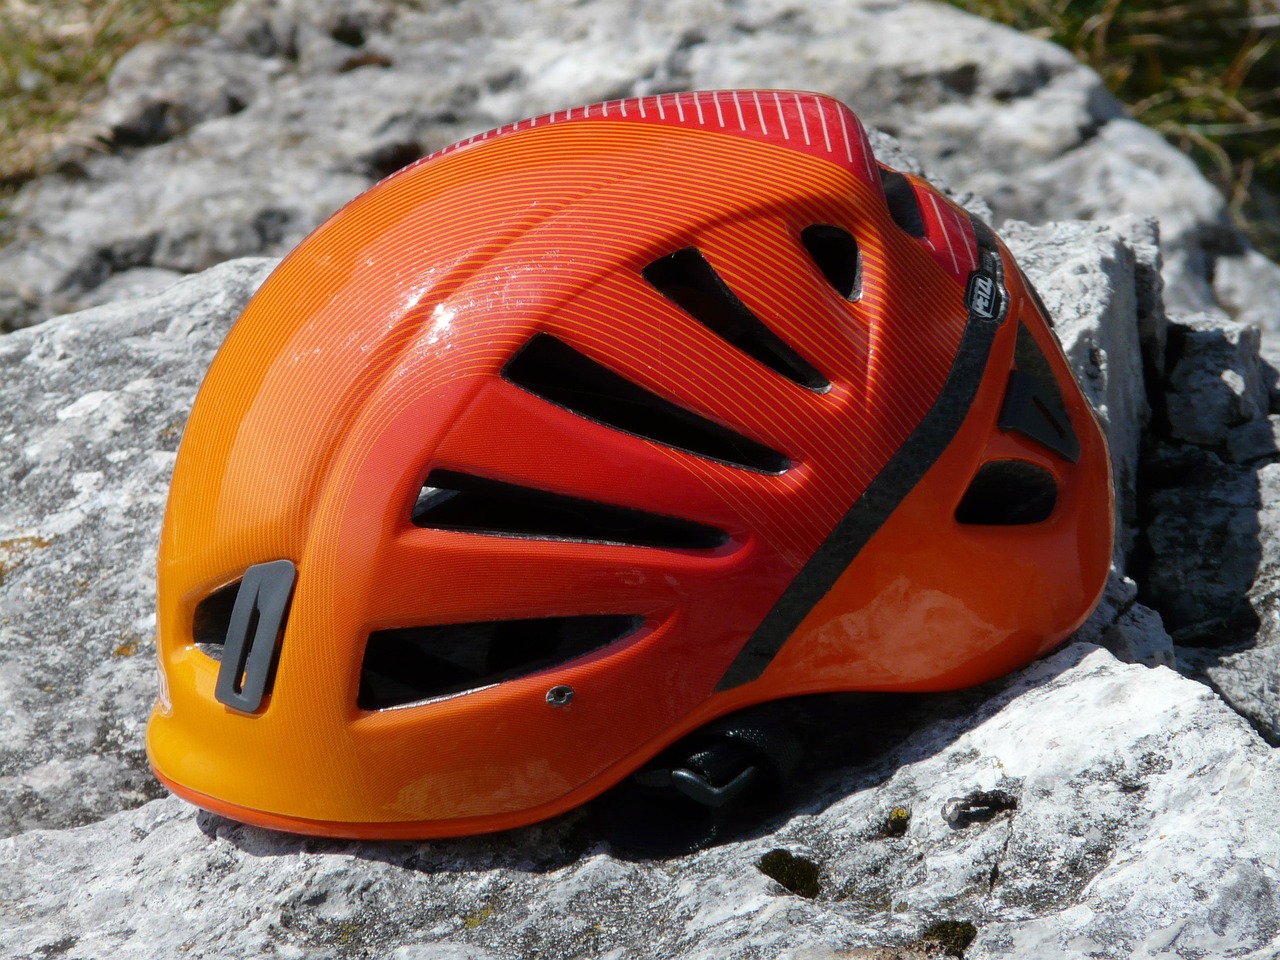
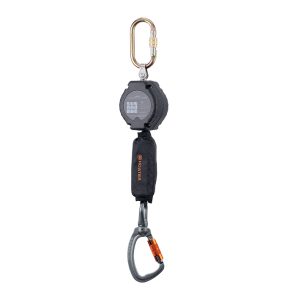
A fall arrest system is a critical safety device that automatically locks onto a rope to stop a climber or worker from falling further. TrekkersPK designs these systems to integrate seamlessly with standard climbing ropes and harnesses, ensuring immediate braking response upon descent. Proper setup involves connecting the arrester to your harness via a carabiner and anchoring the rope securely before starting any vertical work.
💡 Key Takeaways & Summary
- Always pair your fall arrest system with a compatible dynamic or static rope rated for the load.
- Use a high-strength Dyneema sling for creating secure anchor points to reduce rope fatigue.
- Regularly inspect the locking mechanism and webbing for wear before every use.
- Keep the auxiliary rope accessible for quick retrieval and reset of the device.
Why a Dedicated Kit Matters for Vertical Safety
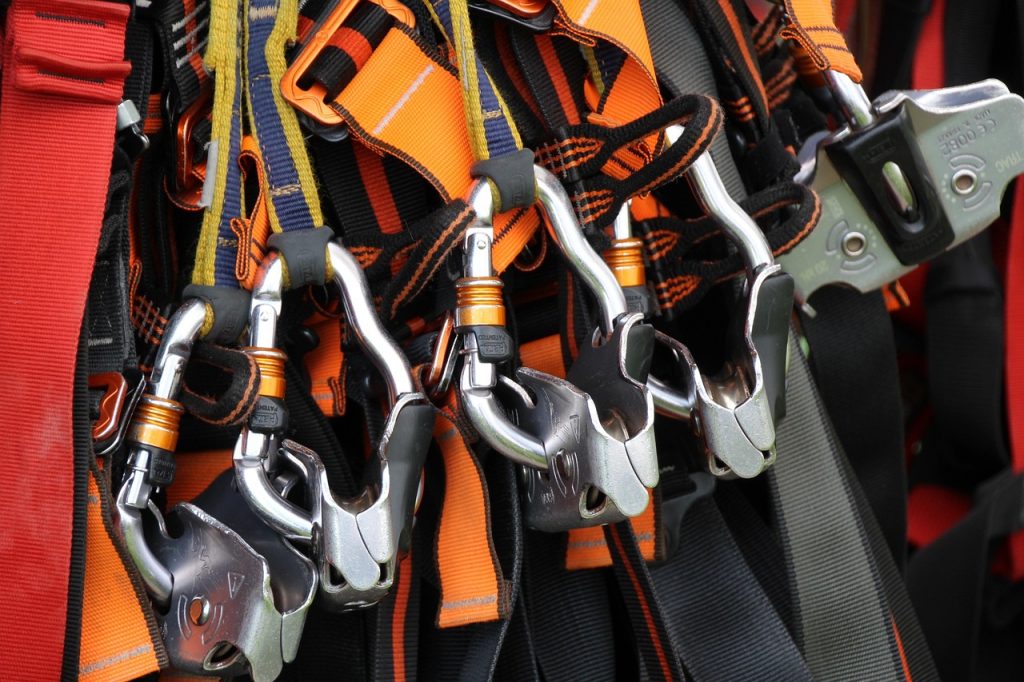
A fall arrest system is not a standalone solution; it is the core component of a larger safety ecosystem. When working at heights, whether in construction, maintenance, or technical climbing, the device must interact flawlessly with your harness, ropes, and anchors. A poorly matched kit can lead to increased fall distance, equipment snagging, or even failure to engage. Understanding how to build this kit around the central arrester ensures that every element works in harmony.
The primary goal of this guide is to help you select and arrange the supporting gear so that the fall arrest system performs as intended. We will look at rope selection, anchor construction, and the specific accessories that enhance the usability of the device. By treating the system as a whole, you reduce the risk of human error and mechanical friction.
Choosing the Right Rope for Your Arrester
The rope is the lifeline that the fall arrest system grips. Not all ropes are created equal, and using the wrong type can reduce braking efficiency. For most fall arrest applications, you need a rope that is smooth yet has enough diameter to be gripped by the internal braking mechanism.
- Diameter: Most modern arresters are designed for ropes between 8mm and 12mm. Check the specifications of your specific model.
- Core Construction: A solid core or dry-treated rope is often preferred for industrial settings where moisture and dirt are prevalent.
- Strength: The rope must have a minimum breaking strength that exceeds the maximum load of the arrester.
For those looking to upgrade their primary line, consider a High Strength Dynamic Climbing Rope. Dynamic ropes have elasticity that can help absorb some of the shock load during a fall, complementing the energy absorber built into the arrest system. However, for fixed industrial descents, a static rope might be more appropriate to minimize stretch and control descent speed.
Essential Components for a Complete Setup
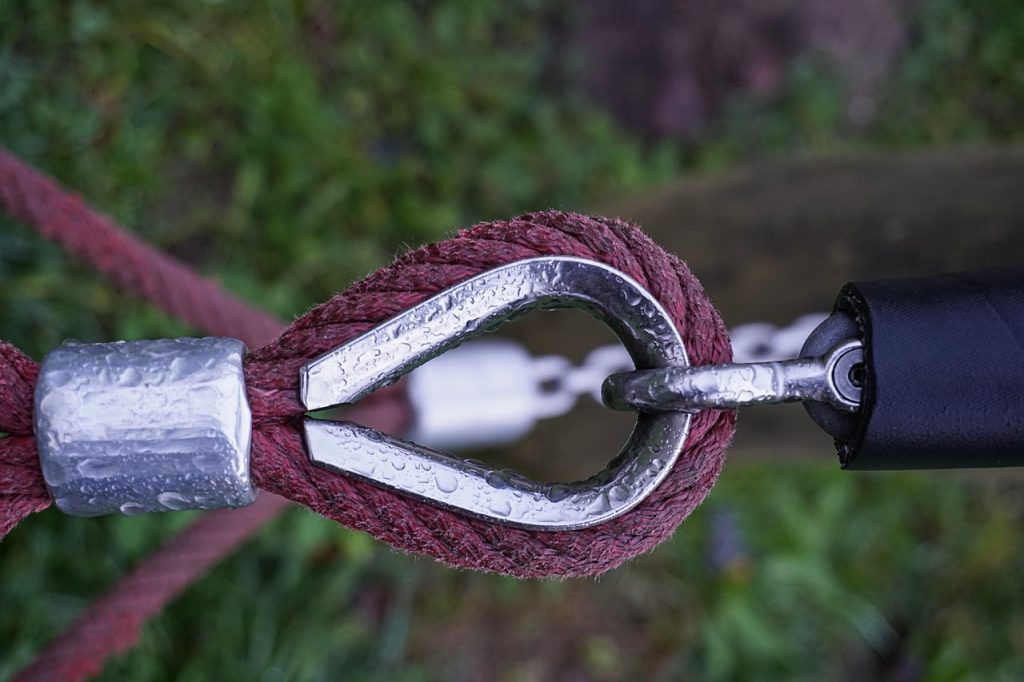
Once you have the central unit, you need the connectors and anchors that make the system functional. The fall arrest system typically features a carabiner-style clip for attachment, but you need the right hardware to secure it to your harness and the anchor point.
Connecting to the Harness
The connection between the arrester and the user is the most critical link. You generally use a locking carabiner to attach the arrester’s top loop to the dorsal ring of your full-body harness.
- Ensure the dorsal ring of your harness is clean and free of debris.
- Open the gate of a Carabiner Aviation Aluminum Snap Hook.
- Clip the arrester’s upper attachment point into the carabiner.
- Close the gate and lock it securely. Double-check that the carabiner is not cross-loaded.
Using a high-quality aluminum snap hook ensures that the connection point is light yet strong enough to handle sudden impacts. Avoid using cheap, unmarked hardware here, as this is the point of highest stress during a fall.
Creating a Reliable Anchor Point
The other end of the rope must be anchored securely. The fall arrest system is designed to lock on the rope, but the rope itself must be fixed to something immovable. For outdoor or industrial work, this often means building an anchor from natural features or structural elements.
A Dyneema Sling: Ultimate Strength is an excellent tool for this purpose. Dyneema is lightweight and has extremely high tensile strength, making it perfect for wrapping around trees, beams, or posts to create a secure anchor. When using a sling, ensure you wrap it in a figure-of-eight or similar configuration to prevent it from slipping or chafing against sharp edges.
Managing Descent and Rescue
While the main job of the system is to stop a fall, you also need to be able to move up and down under controlled conditions. The fall arrest system allows for free movement until a fall occurs, but managing the rope length is still necessary for efficiency.
If you anticipate needing to reposition yourself or assist a colleague, having a Climbers Rescue Side Swing Aluminium Pulley in your kit is beneficial. This can be attached to the rope to create a mechanical advantage for hauling or for controlling descent speed more precisely than just friction alone. It adds versatility to your kit, allowing you to handle complex rescue scenarios where you might need to pull a lost colleague upward.
Step-by-Step: Assembling Your Kit
Before you head out to the job site or climbing area, assemble your gear on the ground. This practice, often called “pre-climb inspection,” ensures that nothing is missing and everything is compatible.
- Collect Components: Lay out your fall arrest system, main rope, harness, carabiners, slings, and any auxiliary gear.
- Check the Arrester: Inspect the fall arrest system for any signs of wear, particularly on the locking mechanism and the outer shell. Ensure the auxiliary rope is neatly wound and accessible.
- Rope Inspection: Run your hand along the entire length of the rope. Look for frays, cuts, or discoloration. If the rope has been exposed to chemicals or extreme heat, replace it immediately.
- Connect the Harness: Clip the arrester to your harness dorsal ring using the primary carabiner.
- Anchor the Rope: Tie the rope to a secure anchor using your Dyneema sling. Ensure the knot is tight and the sling is centered on the load.
- Test the Lock: If possible, perform a small, safe test drop (if facilities allow) or manually engage the locking mechanism to ensure it functions smoothly.
- Pack for Access: Store the auxiliary rope and any slack in a pouch attached to your waist, keeping it away from sharp edges but within easy reach.
Common Mistakes to Avoid in Kit Building
Even experienced users can make errors when setting up their fall protection kits. Avoiding these common pitfalls can significantly enhance your safety.
- Ignoring Webbing Length: The self-shortening webbing on the system minimizes fall distance, but if you route the rope incorrectly, you may negate this benefit. Ensure the rope runs straight through the device without twists.
- Using Worn Carabiners: A carabiner with a worn gate or deformed frame is a serious liability. Replace any hardware that shows visible deformation or excessive wear.
- Forgetting the Auxiliary Rope: If you drop the system or get stuck, the auxiliary rope allows you to retrieve or reset the device. Leaving it coiled tightly and inaccessible defeats its purpose.
- Overloading the System: The system is rated for a maximum load of 100kg. Do not use it for loads exceeding this limit, even if the rope can handle it. The internal mechanism is designed for a specific weight range.
Is a Static Rope Better for Fall Arrest?
It depends on the environment. In industrial settings with smooth, predictable descents, a static rope is often preferred because it does not stretch, allowing for more precise control. In climbing or rescue scenarios where dynamic forces are common, a dynamic rope can help absorb energy and reduce the peak load on the user and the anchor. Check the manufacturer’s recommendations for your specific model to determine the optimal rope type.
Maintenance and Storage for Longevity
A well-maintained fall arrest system lasts longer and performs better. After each use, clean the device with a damp cloth to remove dirt, dust, and moisture. Dry it thoroughly in a cool, dry place. Avoid storing it in direct sunlight or near heat sources, as this can degrade the nylon shell and internal components.
Regularly inspect the internal locking mechanism by moving the slider up and down. It should move smoothly without catching. If you hear grinding noises or feel resistance, take the device out of service and have it inspected by a professional. The energy absorber is a critical component; ensure it is intact and not damaged. Never attempt to repair the internal mechanisms yourself; always use authorized service centers.
By following these guidelines, you ensure that your kit is ready for any challenge. The fall arrest system is a vital tool, but it is only as safe as the rest of your equipment and the knowledge you bring to the setup. Invest time in learning how each piece works together, and you will gain confidence in your ability to work safely at height.
⚖️ Quick Verdict & Analysis: Fall Arrest System
✓ Pros & Highlights
- Lightweight design (1321g) reduces fatigue during long periods of aerial work.
- Automatic locking mechanism provides immediate protection without user input.
- Dyneema fiber construction offers high durability and resistance to wear.
- Includes auxiliary rope for easy retrieval and reset of the device.
⚠️ Key Considerations
- Maximum load is limited to 100kg, which may not suit all heavy industrial applications.
- Requires specific rope diameters for optimal braking performance.
- The self-shortening webbing (1.8m) limits the range of motion, requiring careful planning for long descents.
Frequently asked questions
Can I use any climbing rope with this fall arrest system?
No, you should use a rope that meets the specific diameter and construction requirements of the device. Typically, ropes between 8mm and 12mm are compatible, but always check the manufacturer’s specifications to ensure proper braking performance.
How often should I inspect my fall arrest system?
You should inspect the system before every use for visible signs of damage, wear, or dirt. A more thorough inspection by a qualified professional is recommended at least once a year or after any significant fall event.
What is the purpose of the auxiliary rope included with the arrester?
The auxiliary rope is used to retrieve the fall arrester from below if it becomes stuck or if you need to reset it. It facilitates repeated operations and enhances user convenience during vertical work.
Is this system suitable for recreational climbing?
While it meets safety standards for fall arrest, it is primarily designed for work at heights and controlled descents. Recreational climbers often use different gear like ascenders and descenders, but this system can be a valuable safety backup for technical routes.
Can I repair the energy absorber if it gets damaged?
No, the energy absorber is a safety-critical component that should never be repaired. If it is damaged or has been used in a fall, the entire unit must be replaced to ensure future safety.
Photos via Pixabay (Hans, hhach, Anrita1705, KVNSBL)
Explore More Field Protocols
Full Body Safety Harness Features Explained in Simple Terms
A plain‑language guide that breaks down every feature of the Full Body Safety Harness, showing exactly how each part protects you on the climb or job site.
Read Full Guide