


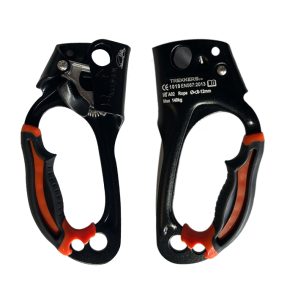
A left hand ascender guide is a step‑by‑step tutorial that explains how to attach, operate, and safely manage a left‑hand ascender during rope climbs. TrekkersPK’s Lightweight Aluminum Left Hand Ascender offers an ergonomic grip and reliable cam mechanism, making it ideal for both beginners and seasoned climbers.
💡 Key Takeaways & Summary
- The HT‑A01 is lightweight yet strong, reducing fatigue on long ascents.
- Its ergonomic grip works in wet, dirty, or cold conditions.
- Regular inspection and proper attachment are essential for safety.
What is a Left Hand Ascender and Why Choose the HT‑A01?
A left hand ascender is a mechanical device that grips a climbing rope when weighted, allowing the user to climb upward with one hand while the other hand controls the rope or equipment. The Lightweight Aluminum Left Hand Ascender from TrekkersPK combines high‑grade aluminum construction with an ergonomic handle for comfortable, secure ascents.
How Do You Attach the Left Hand Ascender Correctly?
Proper attachment is the first line of defense against slip or equipment failure. Follow these steps before you even start climbing:
- Choose the right rope diameter. The HT‑A01 works with most standard climbing ropes (9 mm–11 mm). Verify compatibility on the product page.
- Secure the rope end. Anchor the rope to a solid anchor point using a knot such as a figure‑eight follow‑through.
- Open the cam mechanism. Pull the cam lever outward until you hear a click, indicating the cam is fully open.
- Slide the rope into the cam. Ensure the rope sits cleanly in the cam slot without twists.
- Close the cam. Release the lever; the cam teeth will automatically lock onto the rope.
- Test the grip. Pull down on the handle; the cam should hold firmly without slipping.
Once attached, you can pair the ascender with other gear for a complete system. For example, a High Strength Dynamic Climbing Rope provides the necessary stretch and durability for dynamic moves, while a Carabiner Aviation Aluminum Snap Hook offers a quick‑release connection to your harness.
What Safety Checks Should You Perform Before Climbing?
Even the best equipment can fail if it’s damaged or misused. Conduct these inspections every time you gear up:
- Cam teeth. Look for bent or worn teeth that could reduce grip.
- Handle integrity. Check for cracks or corrosion on the aluminum body.
- Locking mechanism. Verify the cam fully closes and stays locked under tension.
- Rope condition. Ensure the rope is free of frays, cuts, or excessive wear.
If any defect is found, replace the component immediately. Remember, regular maintenance extends the life of your ascender and keeps you safe.
Step‑by‑Step: Using the Left Hand Ascender Safely
Now that the device is attached and inspected, follow this procedural guide for a controlled ascent.
- Adopt a stable stance. Position your feet on a solid foothold or a climbing rung.
- Engage the ascender. Pull down on the ergonomic handle to lock the cam onto the rope.
- Advance your body. Use your legs to push upward while the ascender holds the rope weight.
- Re‑position the ascender. Once you have moved up, release the cam lever, slide the device higher on the rope, and close the cam again.
- Maintain three‑point contact. Keep at least two points of contact (hands or feet) on the rock or ladder at all times.
- Monitor fatigue. The lightweight aluminum reduces strain, but take short rests if you feel your grip weakening.
For added safety on long routes, consider integrating a Fall Arrest System to catch unexpected slips. Pairing the ascender with a Dyneema Sling can also provide a backup anchor point.
How Does the HT‑A01 Compare to Other Ascenders?
The HT‑A01 stands out for its lightweight design and ergonomic handle, making it especially suitable for long ascents where hand fatigue is a concern.
When Is It Appropriate to Use a Left Hand Ascender?
Left hand ascenders are favored in scenarios where the climber needs to keep the right hand free for tasks such as:
- Manipulating a rope or gear while ascending.
- Holding a carabiner attached to a safety line.
- Operating a handheld tool or camera in rescue operations.
Because the device is left‑handed, it allows the right hand to remain on the rope for additional control, a common practice among cavers and arborists.
What Are Common Mistakes to Avoid?
Even experienced climbers can slip up. Watch out for these errors:
- Loading the ascender from the wrong side. The cam only grips when the load is applied in the intended direction.
- Skipping the cam lock test. Always pull down on the handle before starting the ascent.
- Using a rope outside the recommended diameter. This reduces cam engagement and can cause slippage.
Correcting these habits early prevents accidents and preserves equipment life.

How Should You Maintain the Ascender After Use?
Proper post‑climb care keeps the HT‑A01 ready for the next adventure:
- Wipe down the aluminum with a clean, dry cloth to remove moisture and dirt.
- Inspect the cam teeth and handle for any signs of wear.
- Lubricate the cam pivot with a light silicone spray if recommended by the manufacturer.
- Store the ascender in a dry pouch, away
Frequently asked questions
How should this gear be inspected before each use?
Always inspect all load-bearing points, stitching, gates, and surface wear before each activity. Retire any gear showing excessive abrasion or deformation.
What is the recommended storage routine?
Store equipment in a cool, clean, dry environment away from direct sunlight, extreme heat, and corrosive chemicals.
Who is this gear best suited for?
It is designed for outdoor enthusiasts, climbers, and professionals seeking reliable performance and safety compliance.
Photos via Pixabay (anvel, 445693, dokudokunomi, congerdesign)
Explore More Field Protocols
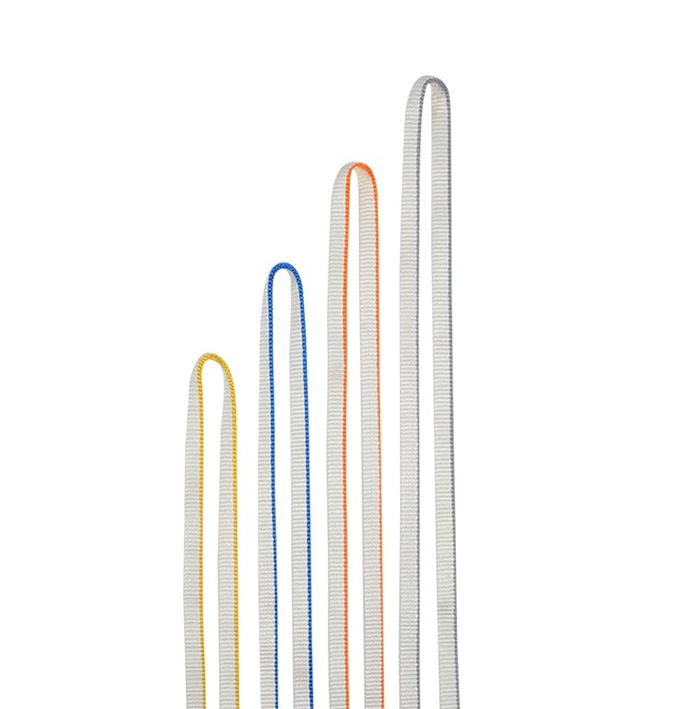
Seasonal Tips for Using a Dyneema Sling in Any Terrain
Learn practical, season‑by‑season advice for getting the most out of your Dyneema Sling, from scorching sun to icy snow, while keeping safety front‑and‑center.

High Strength Dynamic Climbing Rope Pre‑Trip Safety Checklist
A thorough pre‑trip safety checklist that puts your dynamic climbing rope at the center of preparation, helping you avoid common mistakes before you hit the rock.
Common Beginner Mistakes with a Single Leg Safety Lanyard
Discover common errors new users make with a Single Leg Safety Lanyard and practical steps to prevent accidents.